Capture Setup
This guide covers how to verify your video signal and configure resolution settings.
Download RenderColorQC
Download RenderColorQC v1.0.14
Step 1: Verify Video Signal
- On your OCR PC, open RenderColorQC
- Click the Render button
- You should see your Poker PC screen in the render window
Expected Result
The render window displays your poker tables from the Poker PC.
If you don't see any image, check:
- Is the splitter power LED on?
- Is the splitter set to EDID Copy mode?
- Are all HDMI cables firmly connected?
See Troubleshooting if the video doesn't appear.
Step 2: Configure Resolution
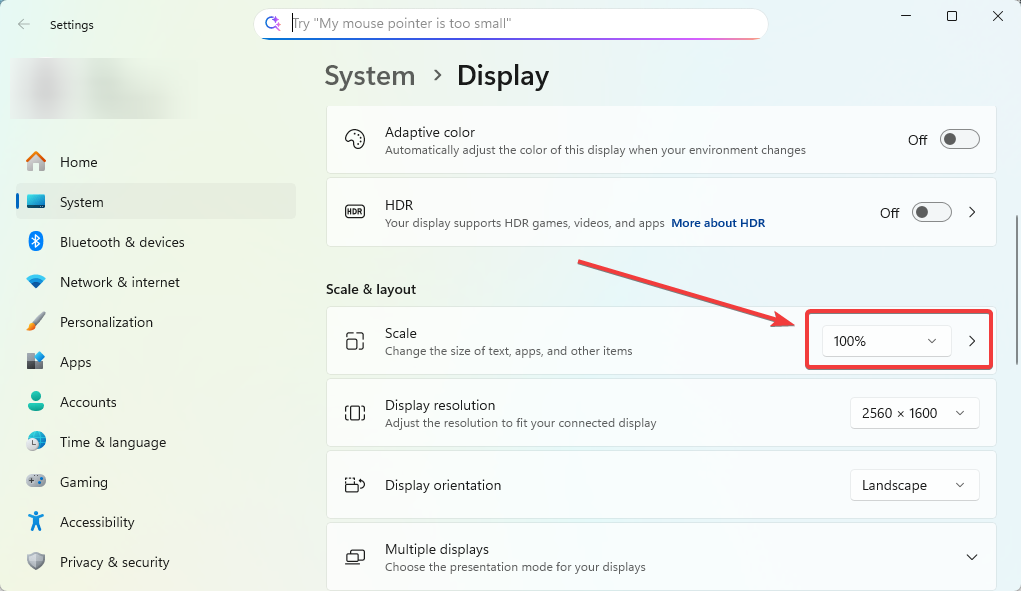
Poker PC Settings
- Right-click on desktop → Display settings
- Set Scale to 100% (this is critical!)
- Note your resolution (e.g., 2560x1440)
OCR PC Settings
- Right-click on desktop → Display settings
- Set Scale to 100%
- Resolution must be equal to or larger than the Poker PC
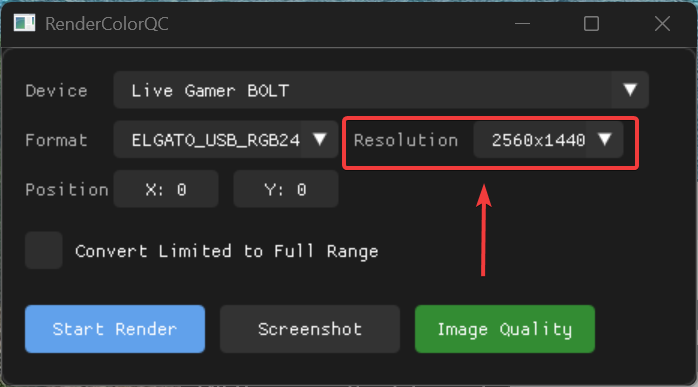
RenderColorQC Settings
- In RenderColorQC, go to resolution settings
- Select the exact same resolution as your Poker PC
- For example: if Poker PC is 2560x1440, select 2560x1440 in RenderColorQC
Poker PC
- Scaling: **100%** - Resolution: e.g., 2560x1440 - This is your "source" resolutionOCR PC
- Scaling: **100%** - Resolution: ≥ Poker PC resolution - Software setting: Match Poker PC exactlyStep 3: Verify Resolution
After configuring, click Render again and check:
- Image fills the render window properly (no black bars)
- No stretching or distortion
- Text and cards are sharp and readable
Common Issues
- Black bars: Resolution mismatch between PCs
- Stretched image: Scaling not set to 100%
- Blurry text: OCR PC resolution lower than Poker PC
Step 4: Test Image Quality
Before proceeding, you must verify your capture signal quality:
- In RenderColorQC, click Render to see the Poker PC screen
- Click the Image Quality button
- The tool will analyze your signal and display a quality score
Quality Must Pass
Your capture signal must achieve 95% or higher quality before proceeding. Poor image quality will cause OCR detection failures.
For detailed testing instructions, see Image Quality Analysis.
Next Step
Once image quality is confirmed (95%+), proceed to Table Detection.