EDID Security Check
This guide covers how to check for unwanted EDID entries and remove them from your registry.
Step 1: Check for Unwanted EDIDs
Check your registry for EDID entries. If you see weird or unknown EDID entries (devices you don't recognize), follow the steps below to remove them.
If all entries look normal, you can skip this guide.
Step 2: Remove EDID from Registry
Deleting EDID entries was not possible until recently and used to require a full Windows reinstall. Fortunately, there is now an easier way.
Administrator Required
All commands in this section must be run as Administrator.
Steps:
-
Create a folder
C:\Tools\and download PsExec from Microsoft, then extract it toC:\Tools\ -
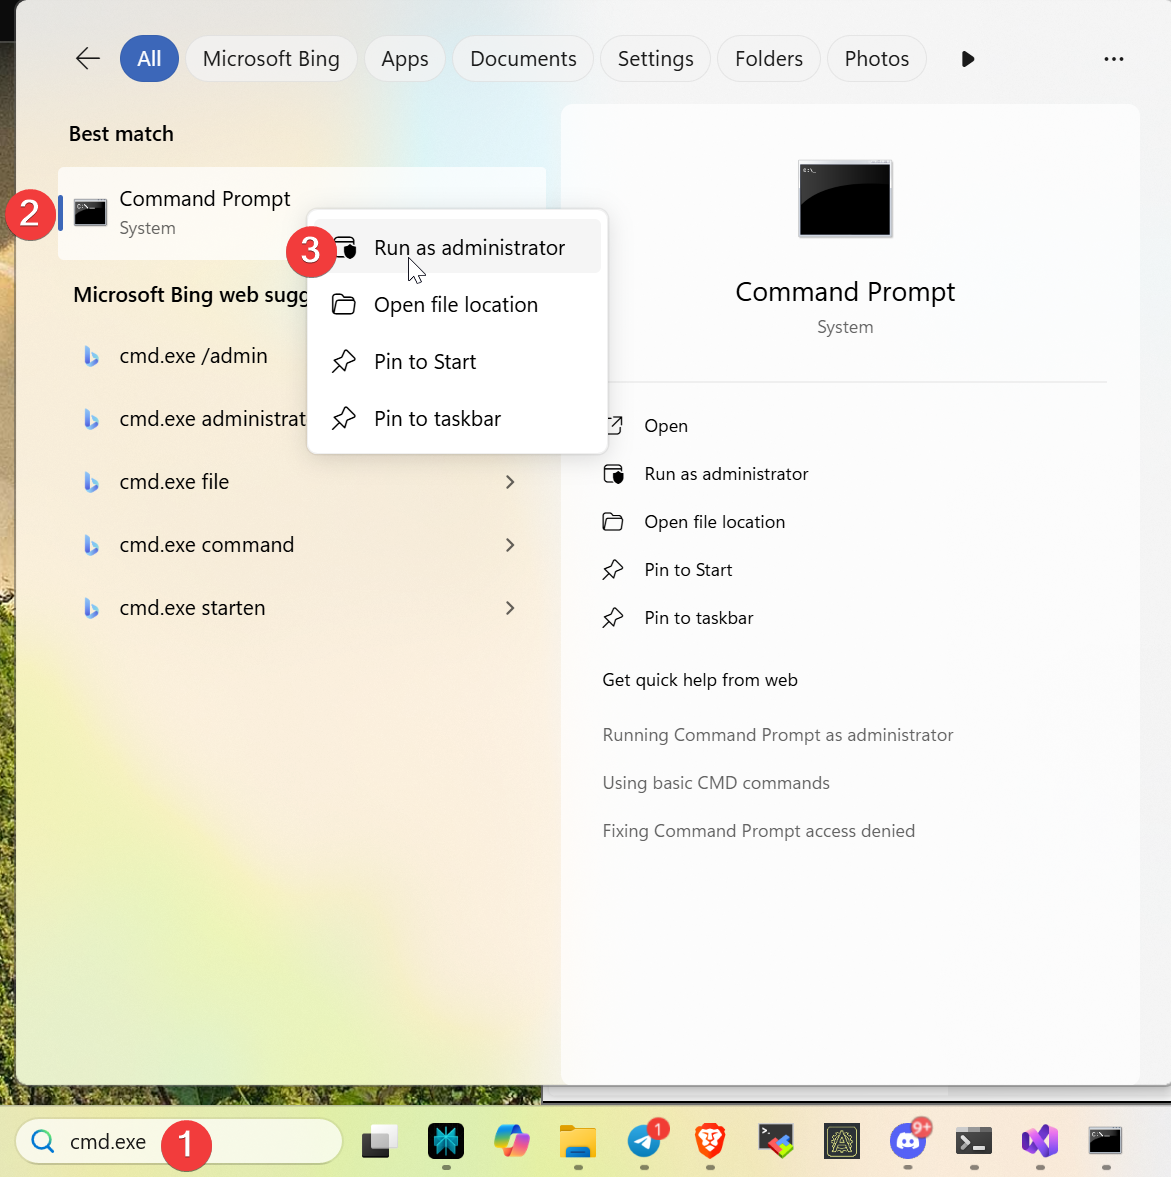
Press Win and type
cmd.exein the search field, then right-click and select Run as administrator
-
Type here:
-
Now you are in regedit from system account. Navigate to:
-
Delete all keys inside it
Note
New EDIDs of connected devices will be added again automatically or after reboot.
Step 3: Cleanup After PsExec
After using PsExec, follow these steps to remove leftover services and files:
Stop and Delete the Service
- Open Command Prompt as Administrator (right-click CMD → Run as administrator)
- Run the following commands:
Remove the Executable
Manually delete this file:
Remove Registry Entry
- Press Win+R and type
regedit, then press Enter - Navigate to:
HKEY_CURRENT_USER\Software\Sysinternals\PsExec - Right-click on PsExec and select Delete
Next Step
Once cleanup is complete, proceed to Table Detection.